Learning each and every day

My quest to edify myself a bit every day

Archive for the category “organization”

The final organization

I have no idea why a centrally located desk/office area is called a command center. I think it’s sort of silly. It makes me want to don my superhero cape, punch my fist in the air and yell, “To the command center!” I mean, really, it’s not like I’m in charge of rocket launches or anything. I’m running a household, not an army base! But, when in Rome, do as the Romans do, I guess. So, command center it is!

It’s taken me over two years to get my command center to a place of complete organization. Now that it’s finished, I couldn’t be happier. It started back in November of 2011 when I made little boxes to organize all of the detritus on my desk. Then we moved to a new house and the little boxes ended up inside the desk,

DSC03726

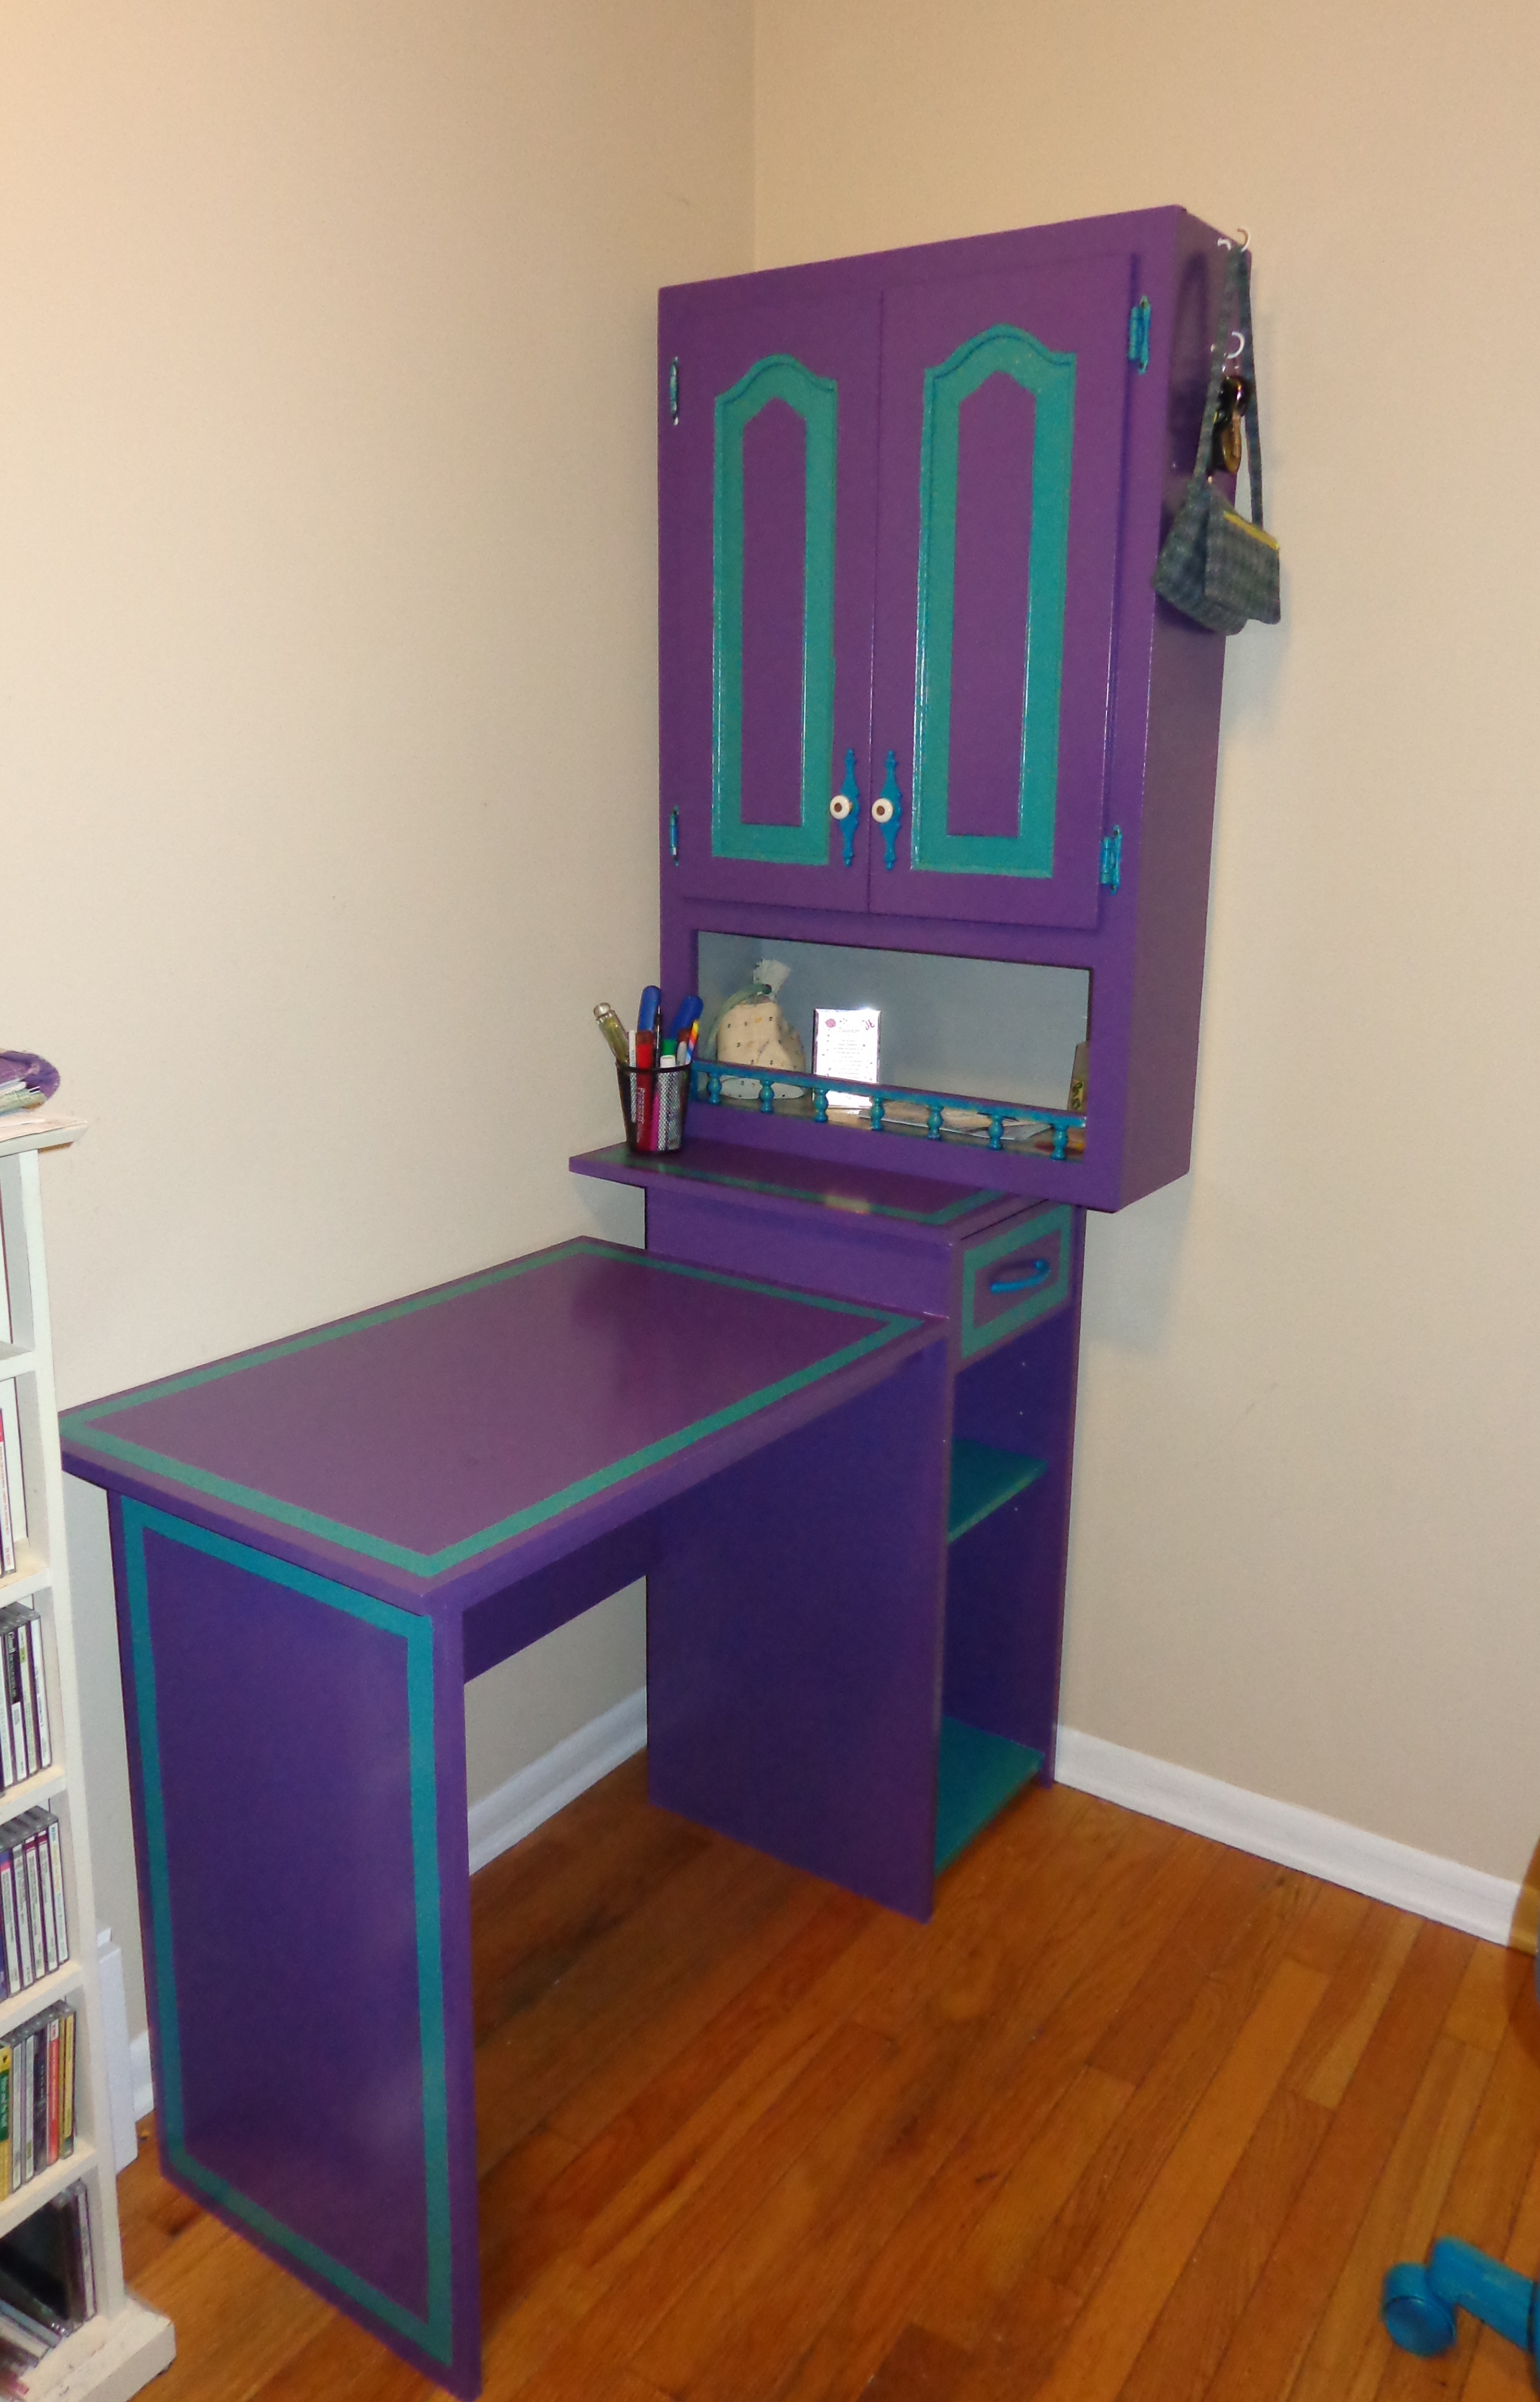
Little by little, I added elements to the command center. I started with repainting the desk.

command center desk after

You’ll notice in the first picture that the boxes don’t match the desk at all. I wasn’t about to redo all of the boxes to match the new desk colors. I guess my perfectionist tendencies are slipping a bit! 😉

Next came a series of boards: a schedule board,
new schedule

a memo board,
memo board closeup

and a recipe board.
Menu board

The schedule board is basically now defunct. It ended up that I was the only person making an effort to be on a schedule, so I gave up. Actually, I got miffed one morning, erased everything on the board and scrawled “Whatever the heck you want!” across the board. Admittedly, that wasn’t exactly my finest hour! We still aren’t using the schedule board, but for some reason, I haven’t taken it down. I’m probably hoping that someday we’ll have use for it! =)

Next came the hanging file folders, which have been the best addition, aside from the little organizational boxes.
file hangers

The final organization was to organize the little bits of randomness that were in one of the corners of my desk. These little boxes from The Dollar Tree fit the bill.
little desk boxes

And the finished product.
command center

I just noticed there is one more thing I didn’t mention: my desk chair. I painted the metal parts to match the desk. I forgot until just his moment that I wanted to re-upholster the chair. Hmmm . . . guess that won’t be happening!

All in all, I’m very pleased with how the command center came together. Having everything in one organized place has made it easier to run the household. When chaos is reigning supreme, I can count on knowing what’s for dinner, what groceries need to be bought, and what bills need to be paid, among other things. It’s a lovely feeling!

Total time: 10 minutes
Total cost: $3

Hanging file folders

The final piece of my desk reorganization is finally finished. It wasn’t a particularly difficult project, but it just so happened that other projects and things kept pushing this one to the back burner. My goal was to get almost everything off of my desk save for my computer, of course, and a few decorative items. I also wanted to create a system so that people wouldn’t just dump things on my desk. When the mail would come in, “Go put it on my desk.” When the babes would color a picture for me, “Go put it on mommy’s desk.” Whenever DH had receipts for me to post, “I put the receipts on your desk.” My poor desk was always a disaster!

Enter, hanging file folders. I found this tutorial HERE and thought “Yes! This is exactly what I need.” The only problem with this tute was that I was unable to print the pattern. The website hosting the pattern required that you join and then post a pattern of your own in order to have printing privileges. That seemed like more work than it was worth. So, I just looked at the pattern and reverse engineered it based on the finished measurements.

The next task was to find sturdy cardboard. We have a big stash of cereal boxes, but no way was that cardboard going to be sturdy enough, let alone big enough. As it happened, the next day was recycle pick up day, so I went cruising around the neighborhood in search of boxes. I found a goodly amount of TV and other appliance boxes.

While it was easy to find the cardboard, cutting it was a whole ‘nother story! What a giant pain! Because it was so thick, scissors were definitely not up to the task. Even box cutters were insufficient. Long story short, I ended up with a few blisters, and it took forever and a day, but I got all of the pieces cut. I cut enough to make two sets: one would hold three folders and the other would hold just one folder.

Once the cardboard was cut, I set out to choose the fabric (this is always where the battle is won or lost for me!) and get it cut out. As it turned out, cutting the cardboard was the most difficult, followed closely by choosing the fabric. Putting it all together was actually a snap. It was simply a matter of using spray glue to attach the fabric to the folders and the base and then using a glue gun to secure the back edges of the fabric. I had some assistance from the babes on this part of the project. (I have no idea what it is about glue guns that makes them come running from all over the house . . . . “Me me me me! I wanna help!”)

The final step was to make little labels and label holders for each folder. DH had saved his name badges from various conferences for me, and they came in handy here. I simply cut them to the appropriate size, glued them on, and VOILA . . . .instant label holder. I though about trying to get fancy with the labels and either writing in calligraphy or printing them out. But, let’s be honest, I really didn’t care all that much!

Anyway, I’m really pleased with the final product. No, it’s not perfect. Some of the fabric wasn’t quite the right size and some of the edges look rough, but I’m totally okay with that because my desk is no longer cluttered! Hooray!

(Please excuse the horrid lighting. My desk is basically in the center of the house in a room with one north facing window that has a big tree in front of it. Even on the brightest day, the lighting is horrid!)

folder close-up

In this next pic you can see in the folder to the left that the fabric isn’t perfectly tucked in. But I hardly notice it because my type A personality is too busy noticing and loving all of the little folders for everything! I have no idea why didn’t do this sooner! Ahhhhh! I love organization!

file hangers

Stay tuned for the next post to see how the hanging folders fit in to the rest of the desk organization!

Total Time: 5 hours
Total Cost: $5

Memo Board

I’ve been on a board-making kick for the past few weeks. DH asked me where I got the idea to use picture frames as boards, rather than buying them premade. Honestly, I”m not sure that the idea came from one source. I’ve seen quite a few pics of picture frames being painted. I’ve seen other pics of frames being used for artwork or used to display nice fabric. I’m not sure that I’ve seen anyone using the actual glass from the frame as a writing surface. Maybe that was my innovation, maybe not. In any case, it’s working out really well.

The project for today was the memo board. I wanted a place where we could have an ongoing shopping list, a place to post general notes, a place to leave “hey, I went to XYZ place” notes for each other, and a place to hang my keys and wallet. Since the picture frame idea had been working so well, I decided to not mess up a good thing. Actually, truth be told, I did mess up. When I bought the frame for the menu board, I didn’t realize that the back had been stapled on in such a way that there was no way I was getting it off. I bought a different frame for the menu. Not wanting to waste the frame I’d already purchased, I then found another use for it, the memo board.

memo board

I did my usual trick of painting and then polyurethaning the frame. I bought some cork squares and glued two together. I wanted it to be thick enough that I could put a push pin in without it crashing into the glass. I centered that on the frame, then attached three command hooks along the bottom for my keys and such. The labels were made from . .. wait for it . . . . cereal boxes. I cut them up, then glued on some fabric. I used a glue stick, and then set it with an iron. Finally, I took a Sharpie and wrote the words. To be honest, I’m not thrilled with how the writing turned out. The Sharpie didn’t provide sharp lines, some of them sort of bled. But, it didn’t bother me enough to fix it, and the labels were easy enough to make that I can always redo them at a later time, if the spirit moves.

memo board closeup

Anyway, the board worked out really well, until the cork fell off of the glass. Apparently the sticky squares just weren’t sticky enough. No problem . . . I just hit the squares with some mega strong adhesive: E6000 (that is some seriously strong adhesive!). I’ll be surprised if the cork falls down again.

Another project crossed off of my list. The next one is a biggie, and I imagine it’s going to take me the better part of a week. Better get started, right?

Total time: 1.5 hours
Total cost: $15

Low-hanging fruit

Whoa! It’s been ahwile since I’ve posted. This has happened before, but this time, I don’t have a partially complete post waiting in the wings. I haven’t even been working on any organization! I realized that’s because I’ve now hit the procrastination stage. I’ve gotten the low-hanging fruit out of the way. You know, the easy projects that take just a few hours. The remaining projects are huge . . I mean, HUGE! Organizing instruction manuals, organizing our filing system (DH hasn’t filed anything in like 2 years, a clear sign that our current system isn’t working!), getting my kitchen desk area organized, updating our home inventory. Just looking at this list makes me want to go back to wasting time on FB rather than getting my home more organized. Blech! Maybe I’ll start with the kitchen desk area. I’ve already bought the paint and a few other supplies, I just need to actually get painting. Motivation . . where art thou? Anyone think I can get the desk organized by the end of the month. Yeah, I know, that’s really optimistic! We’ll see if I get there!

Linen closet

Linen closets are notorious for being difficult to organize. Our previous house had three GIANT linen closets. This was a good thing because we had lots of space. It was also a bad thing because the closets were very deep, like each shelf was maybe 2.5 feet deep. As a result, our closets looked something like this:

linen closet

Part of the problem is that we have small children, so many things that would go under the sink or on the counter or in drawer had to be relegated to the lockable linen closet.

Our new house has ONE linen closet . . . . and it’s tiny.
mchenry linen closet out

I spent alot of time trying to sort out where the heck we were going to put all of the stuff that was jammed into our linen closets: blankets, towels, sheets, toiletries, games, puzzles, picture frames, more blankets, snow suits, stuffed animals, more blankets (yes, we have LOTS of blankets!), cloth diapers. It was pretty clear that the items would need to be spread out in several different places. I started with the easy stuff. The snow suits and diapers went in the top of one of the bedroom closets. Next came the toiletries. One of the bathroom has a giant mirror with doors that slide, revealing lots of little shelves. This seemed like the perfect place for the toiletries.
behind the mirror

If you are thinking that things seem randomly placed and not perfectly organized, you are right. They could be a little more organized, by size or color or some other way. But, it seemed that my organizational energies would be better used elsewhere.

So now I had to tackle everything else. At the top of the stairs, there is a banister. The house is a tri-level, so that particular banister was up high and looked down on the bottom floor, about 9-10 feet down. Our 4 year old DD is a gymnastics freak . .. she seems gymnastic equipment everywhere. I just knew that some day she would pretend that the banister was a bar and she’d flip over it to her death. Not good. I knew I needed to put something in front of the banister. I also needed more linen closet space. I solved both issues by purchasing this dresser.
linen dresser

The beauty of this dresser is the really deep drawer in the center. It looks like there are 5 drawers, right? Really, there are only four, with one of them being a double height drawer. This works perfectly for our towels. Initially, I rolled the towels and set them in upright. They sure looked pretty, but as soon as you took out a towel, the others would start unrolling . . . .not so pretty. So I settled on a tri-fold system that is working out quite nicely.
towels

I filled the other dresser drawers with random stuff. Things like folders, 3- ring binders, blank CD’s/DVD’s, and other random stuff. This left the actual linen closet open for the sheets, picture frames and games.
mchenry linen closet in

You’ll notice that the game shelf is a little messy . . . chalk it up to the 2 and 4 year olds not getting their puzzles back in perfectly. And you know, that’s totally okay. As long as it’s not a fruit basket upset and they can get to their games and puzzles, then I’m happy. (In our previous house, they were on a high shelf and I was constantly having to get their puzzles down for them. Now, they have more autonomy.)

The sheets were a challenge. I really wanted to do the “fold the sheets and then put them in the pillowcase” trick I’d seen on Pinterest. Sadly, I couldn’t find any specific directions on how to do it, so mine definitely did not end up looking like neat little packages. I couldn’t figure out what to do with all of the extra fabric from the pillowcase. Oh well. I just tucked the top sheet and pillowcases into the fitted sheet and folded it all up into a nice little bundle. I’m pretty happy with the results.

“But wait!” you say. “Where are the blankets?” Ah, the blankets. I don’t have a good solution for them. They are sort of scattered around the house. Some are in one of the closets in the basement, some ended up on the floor in the babes’ bedroom, and some are on the floor in my closet. Not ideal at all. Alas, I couldn’t find a better solution!

So to recap. Here’s one of the linen closets before:
linen closet

And here are the after pics.
linen closet after

Perfect? Not at all. Functional? Yep!

Total cost: $35
Total time: 45 minutes

Above the bookcase

In our old house, the bookcases were located in the perfect place to collect clutter. It ended up being the place we’d put confiscated toys, or random things “to deal with later” or just stuff. It looked terrible and drove me nuts! I walked past the bookcases one morning and just had to fix it right then and there. Everything came down. Some things got trashed, some rehomed, some got put back up. The end result . . . . I’ll let you decide.

top of bookcase

It’s better, right? Not perfect, but I’m not going for perfection here, just an improvement. Tthere is still the danger that the bookcases will get cluttered in the new house, especially since they are right by the door to the garage. But, I’m keeping an eagle on them!

Total time: 20 minutes
Total cost: free

The end of limbo

Wow! It’s been over a month since I’ve posted. But, it’s been a VERY busy month around here. WE MOVED! I can’t tell you how happy we are to have moved. We just moved a few blocks down the street, but it’s going to be a MUCH better situation for us. Anyway, I haven’t had half a minute to think about organizing, let alone blogging. We are mostly moved in now, so I’ll be back on the blogging wagon in a few days.

“Wait!”, you must be saying. “Can’t you just organize things as you unpack and move in?”

Well, yes, I could, if I didn’t have four babes running under foot. Since I do have a troupe of little humans, things just got unpacked and placed somewhere, without much thought to overall organization. And truthfully, I need to live in this space for a little while to figure out how best to organize things. I have a few things underway: I have the beginnings of a command center, the linen closet is enduring an overhaul and my sewing room is getting an overhaul as well. These are all going to take a few weeks, but stay tuned for the end result. I am happy to say that the areas that were previously organized in the other house (dry staples, kitchen utensils, hats and gloves, serger thread, hair accessories, dresser drawers) are still organized here. Some, like the hair accessories, have been a bit revamped, but they are still organized. So, hooray for that!

So, I’m back on my organizing game!

In limbo

I do have another little project that I got done this past week, I just haven’t had a chance to blog about it because we have been contemplating some big changes . . . . . we are thinking of moving to another house. We always said that we wouldn’t move from this house unless we were buying. But, things change. Our family keeps growing and we really need another bedroom. At this point, buying a house isn’t going to happen. Sooo, we either squish all the babes into one room, or we move. As luck would have it, two houses right down our street came up for rent just in the past week or so, right when we were thinking of moving.

Anyway, what does this have to do with organizing? Everything! So much of organization is dependent on the space. I’m reticent to spend time creating a home command center or organizing a linen closet if we are just going to end up moving to a different space. So for now, I’m just spending my time gleaning ideas from the internet and jotting my thoughts down so that once the dust settles (either in the new house or here), I’ll have a plan.

On the one hand I’m kinda hoping the moving thing works out. New and different is always fun and exciting. On the other hand, moving is such a giant PITB, especially with many little humans underfoot. Eh, we’ll see what happens. So if I disappear for a few weeks, you’ll know why!

Dry staples

We are in month two of being dairy and soy free thanks to DS3’s intolerance. This means we have been spending lots of time at the co-op and I’ve been buying lots of bulk foods. This is all great, until I get everything home and have to find somewhere to put it. When I would find somewhere to put the goods, I’d forget what was what. “Wait, is this rye flour or millet or sorghum flour or or or?” I kept thinking I would just remember . . . . not so much. I needed a new system. I already had several vintage tupperware containers that worked out really well. But, they were big, and more often than not, my co-op purchases were smallish. So I went with some Ziploc freezer containers and some no-name freezer containers. I used a dry erase marker to write the contents right on the container. The writing isn’t permanent, but that’s good because then I’m not tied to using that particular container for a particular grain/bean. So far, it’s working out really well. And if nothing else, it looks nice =)

dry goods

Total cost: $6
Total time: 30 minutes

Hair accessories

Sometimes, you have to seize the moment and change your plans. A few days ago, I heard the babes playing in the bathroom. This is almost never a good thing, so I went to see what was up. What I found totally surprised me. They were all crowded around the hair accessories drawer, trying to figure out a way to organize it. This drawer wasn’t originally on my “needs to be organized” list, but far be it from me to discourage the babes from organizing! I suggested that we separate the accessories into different categories, and then we set to making little boxes for said categories. We used cereal boxes, and then glued fabric on the inside to make them look less blah. The project took us a few days because we pretty much only worked on it during craft time, but everyone was pleased with the end result. You’ll notice that none of the fabric really matches. If I had my way, it all would have coordinated. As it happened, I let the babes choose the fabric from my scraps stash, so none of it matched. I’m okay with that.

hair stuff drawer

I’m glad I seized the moment!

Post Navigation